
June 30, 2026 · 5 min read
Lighting for a clean key
Spill is not a grading problem. By the time it reaches the grade, it is already someone else's problem.
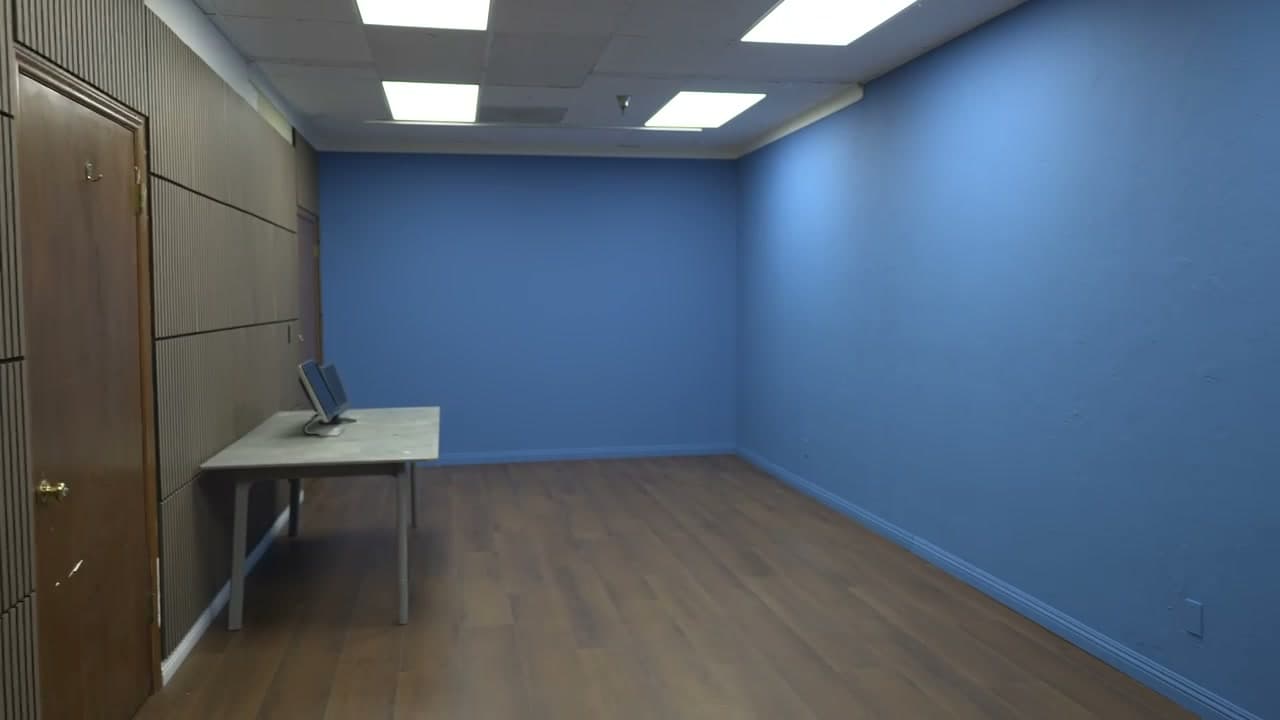
Spill is not a grading problem. By the time it reaches the grade it is already someone else's problem, and they will charge you for it.
A clean key is decided on the floor, in about twenty minutes, by four decisions: how far the subject stands from the wall, how evenly the wall is lit, whether the subject is lit separately from it, and whether anyone checked before the truck was loaded.
Distance first
Before you touch a lamp, move your subject away from the wall. Six feet is a starting point; ten is better if the room allows it.
Everything else on this list is easier at ten feet and harder at three. If you take one thing from this, take the distance — it is free, and it does more than any single fixture.
The reason is inverse-square. Light falling on the wall from your subject's side drops off sharply with distance, so doubling the gap does far more than doubling it should. Green bounced off the wall onto the back of a subject's neck at three feet is a rotoscoping job. The same setup at ten feet is usually a non-event.
Distance also buys you separation you would otherwise have to light for. At ten feet, a modest backlight does what a hard rim would need to do at three.
Light the wall on its own
Two soft sources at forty-five degrees, aimed across the wall rather than at it, will get you flat enough. Meter it and walk it: the difference between the brightest and darkest patch should be inside a stop.
Do not light the wall with the same instrument that lights your subject. It is tempting when you are short on lamps, and it produces a wall that is bright in one place and dying in another.
Aiming across rather than at is the part people skip. A source pointed straight at a wall produces a hot center and dark edges no matter how soft it is. The same source raked from the side, feathered so the near edge of the beam does the work, covers far more surface evenly. You are using the edge of the light, not its middle.
Walk the wall with a meter rather than trusting the monitor. A camera's auto-exposure and a viewing LUT will both flatter an uneven wall, and you will not find out until the key starts tearing along a gradient you cannot see.
Then light the subject
Key, fill, and — the one people skip — a backlight. The backlight is what separates hair from background. Without it the key has to guess where the subject ends, and it guesses green.
Keep the key off the wall. Flag it if you have to. A subject lit at the right level against a wall lit at the right level is a clean key; a subject lit by the wall's light is a rotoscoping invoice.
Flagging is not optional at close distances. A flag between the key and the wall costs nothing and removes the single most common cause of an unkeyable edge: a bright patch of wall immediately behind the subject's shoulder, at exactly the point where the key needs a clean transition.
Where to put the wall in exposure
The wall wants to sit near your subject's key level — roughly the same exposure, not brighter.
An over-lit wall is the mistake that feels like diligence. It looks confident on a monitor, and it produces the worst spill you will ever have to remove, because a wall brighter than the subject throws light forward onto them from every direction at once. There is no flag for that.
Under-lighting is less catastrophic but costs you in noise. A wall two or three stops down still keys, but the keyer is working with less signal and the edges get soft in exactly the places that matter.
Match it, then verify by walking the meter rather than by eye. The eye adapts; that is its whole job, and it is unhelpful here.
Wardrobe, props, and the things that ruin a key
The best-lit wall in the building will not survive the wrong jacket.
Anything with green in it disappears. That includes things that do not look green until they are on a stage: olive drab, some khakis, a lot of denim under warm key, and any glossy surface that can reflect the wall. Glasses reflect the wall. Patent shoes reflect the wall. A polished tabletop reflects the wall directly into the lens.
Fine detail is the other casualty. Loose hair, mesh, chiffon, feathers — the keyer is being asked to decide, pixel by pixel, in a region where subject and background are literally mixed. Distance and a strong backlight are the only real answers.
If wardrobe is fixed and it is green, the decision is the wall, not the lamp. That is the case where a blue stage is cheaper despite needing more light — the trade-off is worked through in what a cyc wall actually buys you.
Check it on the day, not in post
Pull a rough key on set. Any camera, any laptop, thirty seconds. You are not looking for a finished composite — you are looking for the edges of hair and the shoulders of a dark jacket.
If those hold, the grade will be routine. If they do not, you have a lamp and ten minutes to fix something that will otherwise cost days.
Shoot a reference frame with a color chart and an empty frame of the lit wall with nobody in it. Both take under a minute and both are what the compositor will ask for. An empty-wall pass in particular lets them difference-key against the real thing rather than a sampled average.
The order that works
Distance, then wall, then subject, then check. In that order, every step makes the next one easier. In any other order you will be relighting.
None of this needs expensive fixtures. It needs the subject further from the wall than feels necessary, a meter, a flag, and someone willing to spend ten minutes proving it works before the day depends on it. Every shooting stage here is set up to make that ten minutes easy.
If you would rather learn this with your hands on the stands, we teach it — Lighting the Frame runs on a working stage with the same fixtures the room rents with, and the whole course slate is built the same way.
Written by Seven Film Studios · craft, lighting